Welcome to the comprehensive guide for assembling your Char-Broil grill! This detailed walkthrough ensures a smooth and stress-free experience, covering safety, efficiency, and troubleshooting tips for a perfect setup. Whether you’re a novice or an experienced griller, this guide will help you master the assembly process and enjoy delicious meals right away. From unboxing to final testing, we’ve got you covered!
Overview of the Assembly Process
Assembling a Char-Broil grill is a systematic process that requires attention to detail and adherence to the provided instructions. The process typically begins with unboxing and inventorying all parts, followed by assembling the frame and base. Next, burners, heat plates, and gas lines are installed, with a critical step of testing for leaks using soapy water. The process also involves connecting the grill to a gas supply and ensuring all components function properly. While the assembly can be straightforward for some, others may find it challenging, especially without clear instructions. Patience and careful planning are key to a successful setup. Tools like wrenches and Allen keys are essential, and digital guides can simplify the process. Avoiding common mistakes, such as incorrect bolt alignments or loose connections, ensures safety and optimal performance. Overall, the assembly process is manageable with the right preparation and mindset.
Importance of Following Manufacturer Guidelines
Adhering to Char-Broil’s assembly instructions is crucial for safety, functionality, and warranty validity. Manufacturer guidelines ensure proper installation of components like burners, heat plates, and gas lines, minimizing risks of leaks or malfunctions. Deviating from instructions can lead to unsafe conditions, such as gas leaks or fire hazards. Additionally, following the manual helps maintain the grill’s performance and longevity. Clear diagrams and step-by-step instructions guide users through complex tasks, making the process manageable even for novices. By following Char-Broil’s recommendations, you ensure a secure and efficient assembly, allowing you to enjoy your grill with confidence and peace of mind.

Unboxing and Inventory of Parts
The unboxing experience is straightforward, with parts arriving well-packaged. Checking the contents ensures all components are present, serving as a vital reference for the assembly process ahead.
Checking the Contents of the Grill Package
Thoroughly inspecting the grill package is essential to ensure all components are included and undamaged. Start by verifying the main grill body, burners, heat plates, and gas lines. Check for smaller parts like screws, bolts, and connectors, as missing items can delay assembly. Review the provided inventory list to cross-reference each part. Additionally, examine the instruction manual and any digital guides for clarity. If any parts are missing or damaged, contact customer support immediately to avoid assembly issues later. This step ensures a smooth and successful setup process for your Char-Broil grill.
Organizing Parts for Efficient Assembly
Organizing parts before assembly ensures a streamlined process. Begin by categorizing components, such as bolts, screws, and connectors, into separate containers or bags. Group parts based on their intended section, like frame, burners, or gas lines, to simplify access during assembly. Clear a large, flat workspace and lay out tools within easy reach. Refer to the inventory list to confirm all items are accounted for. This systematic approach prevents confusion and saves time, allowing you to focus on building your Char-Broil grill with confidence and efficiency.
Step-by-Step Assembly Instructions
Begin by assembling the grill frame and base using the provided hardware. Next, install the burners and heat plates, ensuring proper alignment; Connect gas lines securely and test for leaks using soapy water. Finally, attach the cooking grates and perform a safety check before first use. Follow the manual closely for precise guidance.
Tools and Materials Needed for Assembly
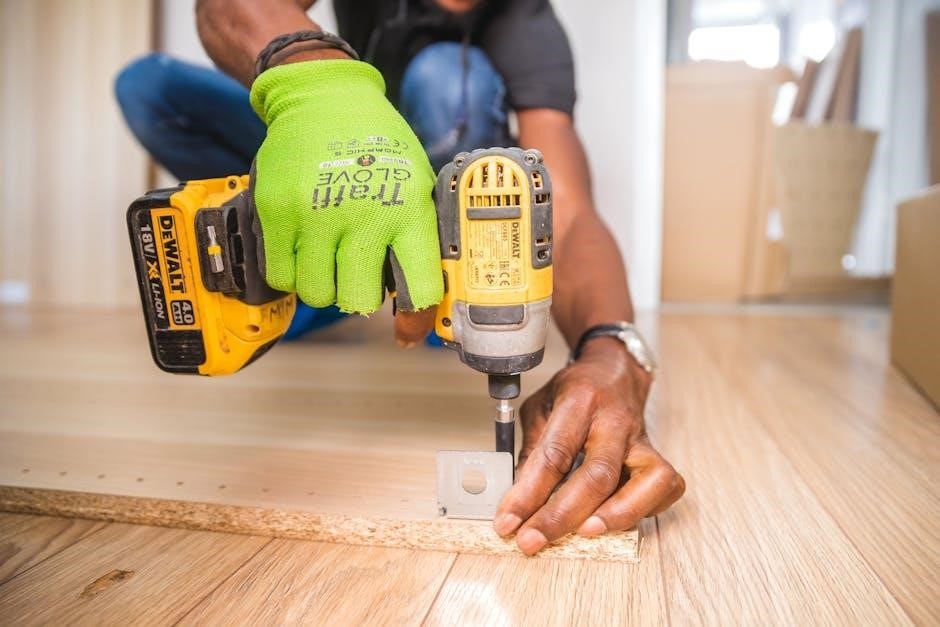
To assemble your Char-Broil grill, gather essential tools like a wrench, screwdriver, and Allen key. Ensure you have all hardware from the package, such as bolts, washers, and nuts. Keep soapy water handy for leak testing gas connections. A clean, flat workspace is crucial for organizing parts efficiently. Refer to the manual for specific tools recommended by the manufacturer. Having a second person assist can simplify handling larger components. Make sure all materials are free from packaging debris before starting. Proper preparation ensures a smooth assembly process.
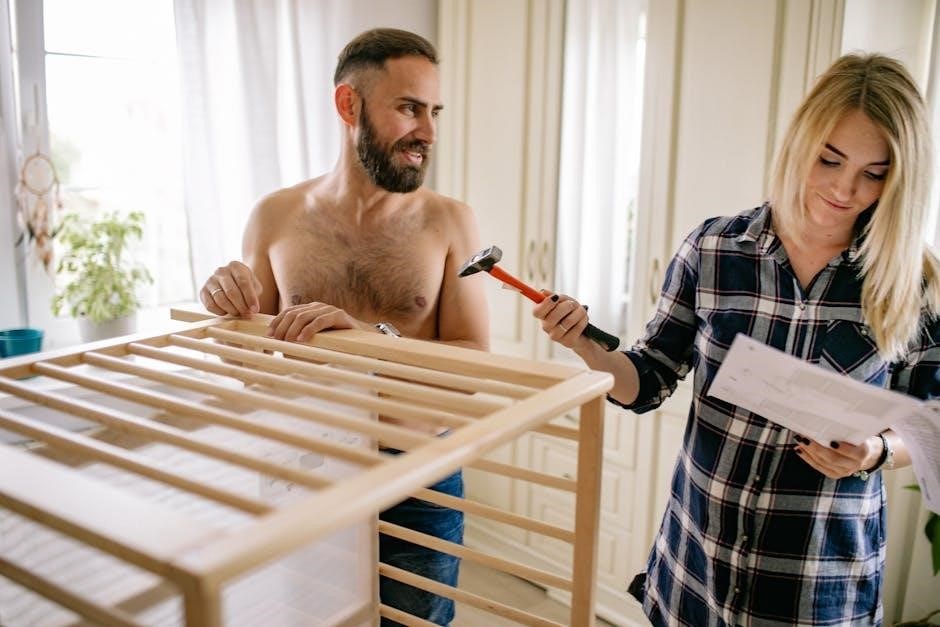
Assembling the Grill Frame and Base
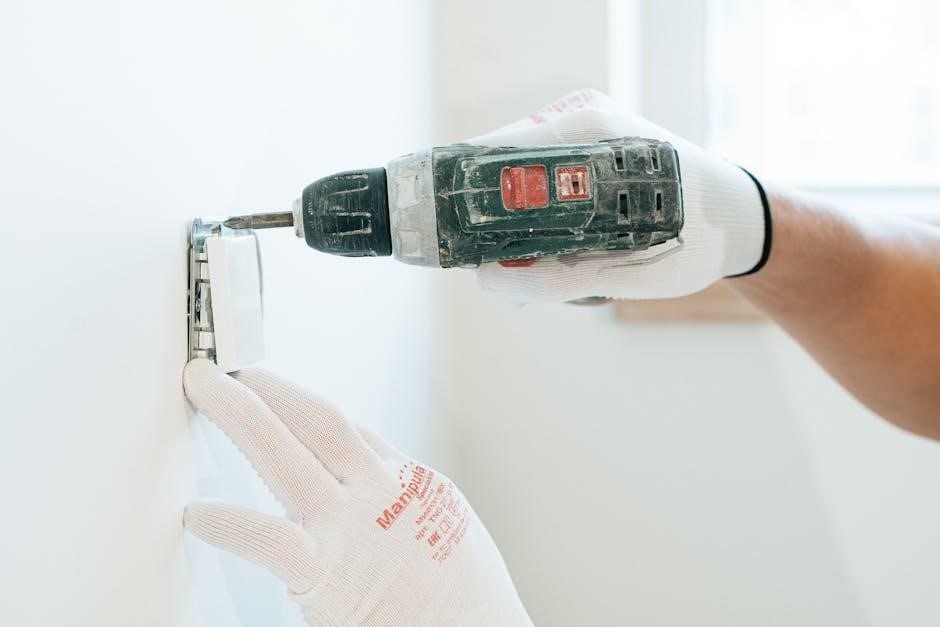
Begin by assembling the grill’s frame and base. Attach the legs to the base using the provided bolts and washers, ensuring they are securely tightened. Align the frame components carefully, following the manual’s diagrams. Use an Allen wrench to secure the side tables and shelves. Make sure all parts are properly aligned before tightening bolts. Double-check that the frame is stable and even, as this is crucial for safe operation. Once the base is fully assembled, proceed to attach the burner and heat plate components. Refer to the manual for specific bolt sizes and tightening sequences to ensure a sturdy foundation for your grill.
Installing Burners and Heat Plates
After assembling the frame, install the burners and heat plates. Attach each burner to the designated brackets using the provided screws. Ensure they are securely fastened and aligned properly. Next, place the heat plates over the burners, fitting them snugly into their slots. Verify that the heat plates are evenly spread and cover the entire burner area. Tighten all connections firmly to prevent any gaps. This step ensures even heat distribution and protects the burners from food residue. Refer to the manual for specific alignment instructions to guarantee optimal performance and safety during grilling.
Connecting Gas Lines and Testing for Leaks
Connect the gas lines to the grill and burner ports securely. Tighten all fittings by hand, then use a wrench for an extra quarter turn. To test for leaks, spray soapy water on all connections. Bubbles indicate leaks; tighten connections and repeat if necessary. Once leak-free, light the burners to ensure they ignite evenly and burn consistently. If any issues arise, refer to the manual or contact support. Proper gas line connection and leak testing are critical for safe and efficient grilling. Always double-check before first use to avoid potential hazards.
Troubleshooting Common Assembly Issues
Identify common assembly issues like misaligned parts, loose connections, or damaged components. Consult the manual, contact support, or replace parts if necessary to resolve problems efficiently.
Addressing Missing or Damaged Parts
If you discover missing or damaged parts during unboxing, refer to the inventory list to verify the contents. Clean minor damage or dents carefully. For significant issues, contact Char-Broil customer support for replacements. Use the provided contact information in the manual or visit their official website. Avoid using substitute parts unless explicitly approved. Delay assembly until all correct components are available. Safety and proper functionality depend on using the right parts. If unsure, consult the troubleshooting section or reach out to a professional. Ensuring all parts are in good condition is crucial for a safe and successful assembly process.
Resolving Gas Connection Problems
If you encounter issues with gas connections, start by ensuring all fittings are securely tightened. Use a gas leak test solution or soapy water to identify leaks—bubbles indicate a connection problem. Turn off the gas supply before attempting repairs. Inspect hoses for cuts or damage and replace them if necessary. Refer to the manual for proper connection procedures or consult the troubleshooting section. If issues persist, contact Char-Broil customer support or a certified technician. Always prioritize safety when handling gas components to avoid hazards. Properly resolving gas connection problems is essential for safe and efficient grill operation.
Safety Precautions and Maintenance
Ensure safe assembly and operation by following manufacturer guidelines, using soapy water for leak testing, and inspecting hoses for damage. Refer to the manual for detailed maintenance and safety procedures.
Ensuring Safe Assembly and Operation
Always prioritize safety when assembling and operating your Char-Broil grill. Begin by thoroughly reading the user manual to understand all safety guidelines and operational procedures. Conduct a leak test on gas connections using soapy water to detect any issues before use. Regularly inspect hoses for signs of wear or damage and replace them if necessary. Keep flammable materials away from the grill and ensure proper ventilation. After assembly, test the grill at a low heat setting to ensure everything functions correctly. Maintain your grill regularly to prevent rust and ensure optimal performance. Safety and proper maintenance are key to enjoying a durable and efficient grilling experience.
Post-Assembly Leak Testing Procedures
After assembling your Char-Broil grill, perform a thorough leak test to ensure all gas connections are secure. Turn off the gas supply and apply a mixture of soap and water to each connection. Bubbles forming indicate a leak. Tighten any leaking connections and repeat the test until no bubbles appear. Also, inspect the hoses for cuts or abrasions. For added safety, test the grill’s ignition system by lighting the burners one by one. If any issues persist, consult the manual or contact customer support. A leak-free setup ensures safe and efficient grilling, preventing potential hazards and guaranteeing optimal performance.

Additional Tips for a Smooth Assembly
Organize parts by category and use the provided hardware list to ensure nothing is missing. Utilize digital assembly guides for visual clarity and follow step-by-step instructions carefully. Avoid common mistakes by double-checking connections and tightening bolts securely. Keep tools within easy reach to save time and maintain focus. Lastly, take breaks if needed to stay patient and methodical throughout the process for a successful assembly experience. Proper preparation and attention to detail will make the task enjoyable and stress-free, ensuring your grill is ready for use. Happy grilling!
Using Digital Assembly Guides
Digital assembly guides are an invaluable resource for assembling your Char-Broil grill. These guides often include detailed diagrams, step-by-step instructions, and interactive 3D models to help you visualize each part of the process. Many Char-Broil grills come with QR codes or links to downloadable digital manuals, ensuring you have access to the most up-to-date instructions. Video tutorials and troubleshooting sections are also available online, addressing common challenges and providing solutions. By leveraging these tools, you can overcome assembly hurdles and ensure a seamless setup. Digital guides not only enhance clarity but also save time, making the assembly process more efficient and enjoyable for all skill levels. They are especially helpful for first-time assemblers, offering a user-friendly approach to completing your grill setup successfully. Additionally, digital guides often include tips for maintaining your grill and resolving common issues, ensuring long-term satisfaction with your Char-Broil product. Overall, digital assembly guides are a modern and effective way to simplify the assembly process, providing clear guidance and peace of mind. With their comprehensive instructions and visual aids, you can confidently assemble your grill and start grilling like a pro in no time. These resources are a testament to Char-Broil’s commitment to customer satisfaction and ease of use, making the assembly process as stress-free as possible. By utilizing digital assembly guides, you can ensure that your Char-Broil grill is assembled correctly and safely, allowing you to enjoy delicious meals with family and friends. Whether you’re a novice or an experienced griller, these guides are an essential tool for a smooth and successful assembly experience. They provide the clarity and support needed to tackle even the most complex steps with confidence, ensuring that your grill is ready for years of reliable performance. Don’t hesitate to explore the digital resources available for your specific Char-Broil model, as they are designed to make your assembly journey as straightforward and enjoyable as possible. With digital assembly guides, you’re not just assembling a grill—you’re unlocking a world of grilling possibilities and creating memorable moments with every use. So, take advantage of these innovative tools and make the most of your Char-Broil grill assembly experience. Your perfect grilling adventure starts here.
Avoiding Common Mistakes During Assembly
To ensure a smooth assembly process, it’s crucial to avoid common mistakes. One of the most frequent errors is skipping the initial inventory of parts, which can lead to missing or misplaced components later. Always double-check the contents against the manual. Another mistake is tightening bolts prematurely, which can misalign the frame. Instead, assemble the structure loosely and tighten only when everything is in place. Additionally, ignoring the manufacturer’s instructions for gas line connections can result in safety hazards. Always follow the recommended leak-testing procedures using soapy water. Finally, rushing through the assembly can lead to overlooked details, so take your time and work methodically. By being meticulous and patient, you can avoid these pitfalls and ensure a safe, functional grill setup.